To protect your email data, industry best practices are to encrypt (hash) your emails before sharing them.
Many of our clients use the DCCC hashing tool, which encrypts using the MD5 protocol.
Step 1: export your emails from your CRM. Select only the email field if your CRM permits. Do not use quotes around the emails.
- Mailchimp
- Nationbuilder
- NGP
- EveryAction Eliminator File
- Go to Create a List and choose which contacts you want your vendor to exclude from their list.
- Be as broad as you can in your search to make sure you capture any contacts that might appear in the vendor list that you do not need. For example, you may want to include deceased or do not mail contacts to be certain you are not reacquiring those names. From Suppressions, you can choose Include Deceased and Include Do Not Mail contacts to add to your list.
- Be sure to save this search so that you can use the same criteria every time you need to send your vendor(s) an eliminator file.
- Once you’ve run the search you created above, you’re ready to export your eliminator file. Choose Export to begin.
- On the Export Wizard screen, select Email Eliminator File
- For hashing method, select MD5 (first convert all emails to UPPERCASE before applying MD5)
- You can find your exported file under Main Menu > My Export Files. Download your file to transmit to your list broker
- EveryAction Eliminator File
If your CRM does not let you select emails only, then open the export file in Google Sheets or Excel and copy the email column to an empty file and save it.
Step 2: open your email file for review in a convenient program.
- Cloud
- Google Sheets
- Windows
- Excel
- Wordpad
DCCC requires the first row to contain only the word “email” (all lowercase) so change the first row if needed, then save the file.
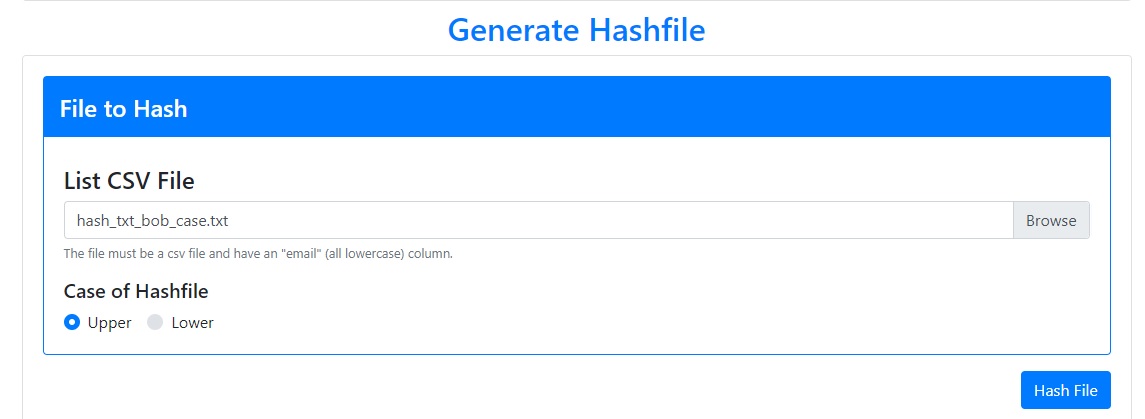
Step 3: open the DCCC hashing tool in your browser (preferably Chrome). Scroll down to “Generate Hashfile”. Use the “Browse” button on the right to load your email file (.csv or .txt). Leave the Case of Hashfile setting as “Upper.” Click the “Hash File” button to begin.

When the hash is complete, you will see a green download button that will save the hashed file to your disk.
Step 4: Send us the hashed file (not the emails)
- You can send the hash file to us using any method you prefer. Many clients use cloud storage sites like Dropbox or Google Drive and send us a link.
- We will notify you after we download the file so you can remove the file from the cloud.
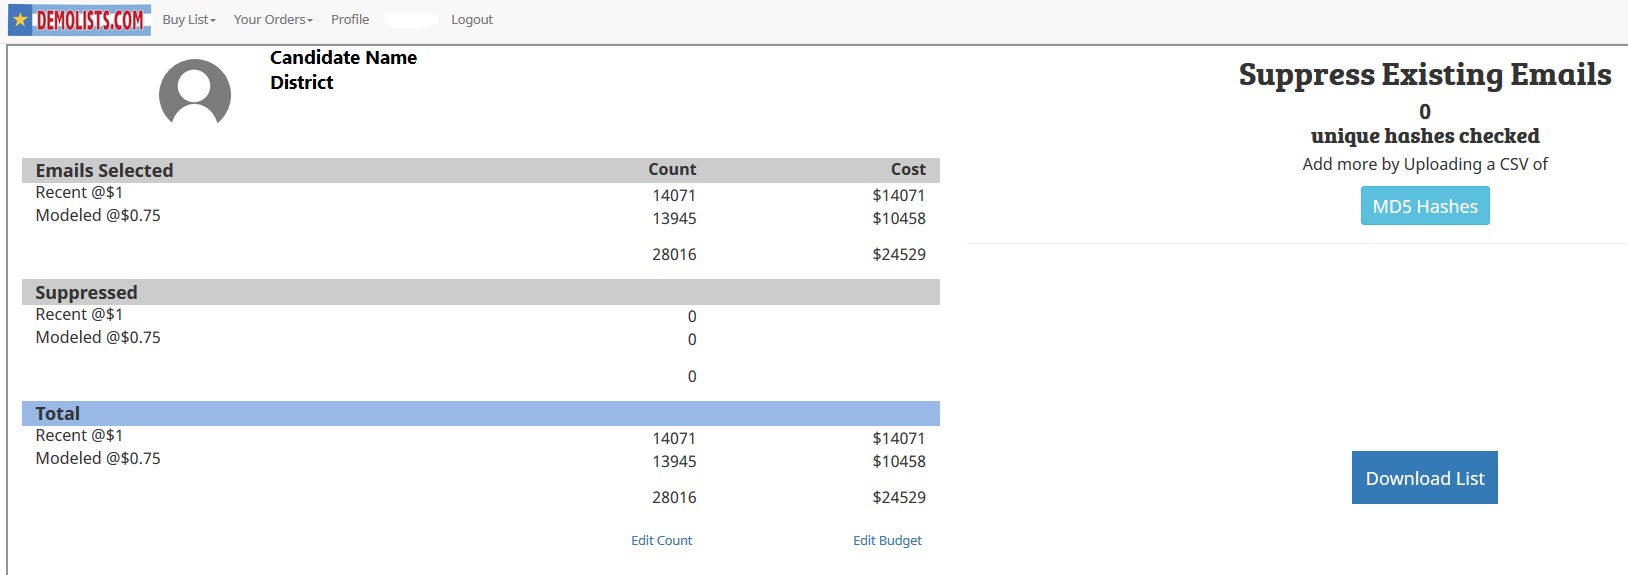
If you are using Demolists.com, after you see the district counts you will be prompted to upload your hash file – click the “MD5 Hashes” button on the right.

